Monday, December 19, 2011
Friday, December 16, 2011
Frosty Family Upcycle!
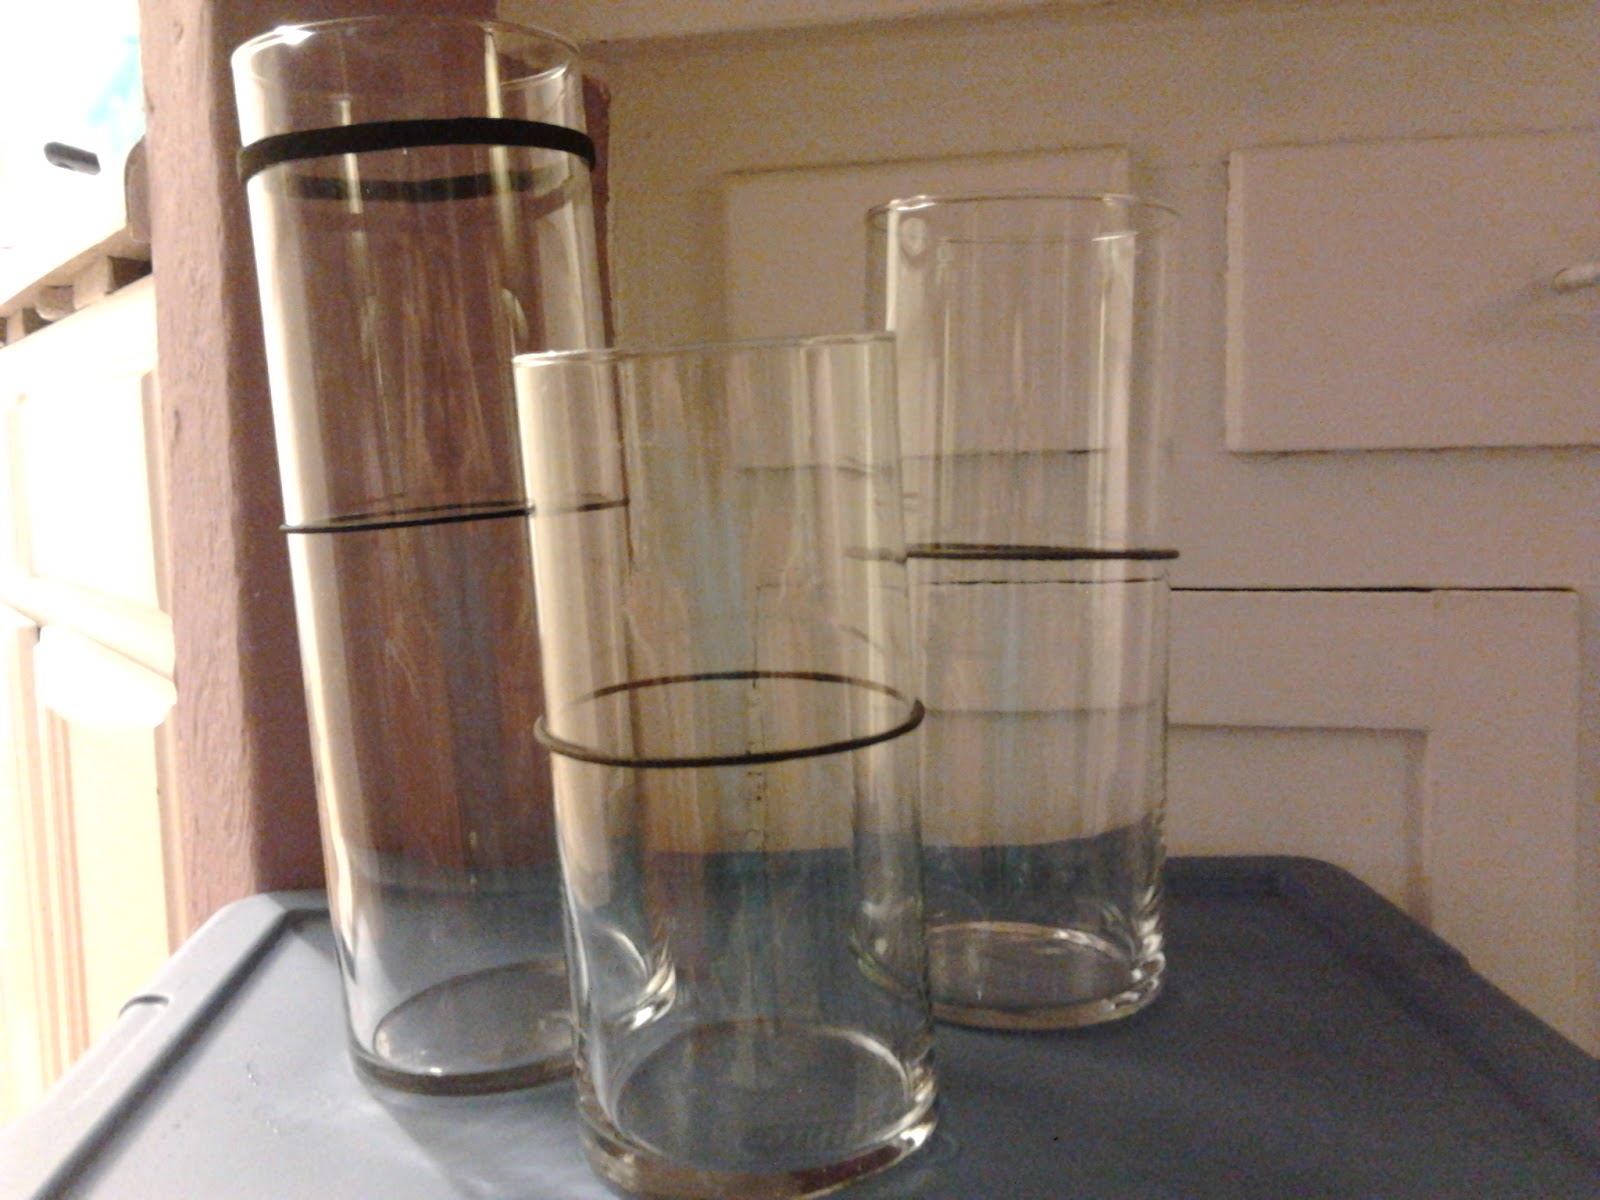
I knew I wanted to do something special for an upcoming White Elephant gift-exchange, but I was running low on inspiration. I browsed Marshall's, Wal-Mart, Target, Hobby Lobby. Nothing. Luckily there is a Salvation Army Family Store on my way home from the closest Hobby Lobby, and naturally I stopped in. Thrifting is one of my favorite hobbies. There, I picked up three glass vases in varying sizes.


Snowmen!


(Yes! I seriously made these)
I had seen a neat concept of using white string-lights to illuminate glasses adorned with a simple snowman face & buttons, and I really liked the concept! (Yes, discovered via Pinterest)
But let's be honest... "glass drill bit." Yeah right.
Thank goodness for Google image search! After several combinations of "glass" "jar" & "snowman," I kept noticing similar images attributing the frosty appearance to... Epsom salt?
(My favorite being this monogrammed Epsom salt frosty glass)
Seems weird, but simple enough to give it a try.
Here's what' you'll need:
Glass Jar(s)
Acrylic paints or stickers
Elmer's Glue All or ModPodge
Epsom Salt
White glitter
Clear-glaze spray paint
Fabric scraps
Candle(s)

Supplies (and Todd the cat keeping an eye on things)
Try it!
First, I cleaned the glass with dish soap and dried with a towel.

Then To make the snow-people...
I applied a thin strip of adhesive-backed craft foam to serve as a slightly raised brim for Mr. Frosty's hat, and marked the middle of my vases with regular hair-ties to gauge where the features should go.
Various acrylic paints to draw on the faces and buttons

And it wasn't long before they looked something like this.
(All while watching a re-run of Ringer.)

and then this

(I decided I didn't like the bow on Mrs. Frosty so I wiped it off and painted on a poinsettia instead. I wanted her to look feminine, but still sophisticated. -duh)
Mix up some of the Epsom salt with glitter.

I saw somewhere that you can get the same results as Mod Podge by mixing 1 part glue with 1 part water, so that's what I tried.

Brush it on the snowmen with a foam brush and dip/sprinkle the salt & glitter.

(Look who it is in the background)
Make a little scarf out of some fabric scraps while your snow men dry.

(I got this red and green sparkly fabric at Hobby Lobby for under 40 cents!)
Apply 2 coats of clear glaze, and hot glue scarves in place.

(I do need a figure out a way to fix Mr. Frosty's forehead. Stay tuned)
Then it's as simple as lighting the votive candles. Can we say ambiance?
For my first time making these, I'm pretty pleased with how they turned out. I'd like to try them again, and I'll probably make the buttons and facial features bigger and more prominent. Practice makes perfect. It was also a bit messy to take on in a studio apartment, but overall it was fun and simple.
Enjoy!
Merry Christmas, friends. Glory to God in the highest, and on earth peace, good will toward men. Luke 2:14
Thursday, December 15, 2011
Wednesday, December 14, 2011
Birds & Branches Wall Art
I enjoyed this DIY vinyl wall-decal kit that I came upon at TJ Maxx, but I wasn't sure it would work on the textured walls in my apartment.
...
But I liked it, so I bought it anyway.

(This is Todd, the cat. He loves to get in the way.)
When I got home I wondered if this was $5 wasted. I certainly didn't want to attempt it only to find out that it in-fact did not work on the textured walls, confirming my $5 wasted and tacking on time wasted.
...
I thought about using a canvas... too expensive. Foam board... too cheap looking. Scrap wood... where in the heck do I get scrap wood? So, I picked up a thin birch (I think) board from Home Depot for somewhere around $3. They were nice enough to cut it to my liking. It's still nice & big, but I didn't want a perfect square.
Peel. Stick. Here it is.

I screwed in some loop screws to the back and strung some picture wire to hang. Easy!

The walls are concrete in my very old apartment building, so I used an anchor screw to hang the finished product. However, the wood is very thin and lightweight so it wouldn't take much effort on most other walls.

...
I completed this about a year and a half ago, and lately I'm considering spray painting the whole thing (over the decals), peeling them off, leaving the negative image of the birds and branches in the natural wood.
Idea from Pinterest, of course: http://www.readymade.com/projects/graphic_and_custom_artwork
Subscribe to:
Posts (Atom)